

Hi!
Welcome back to About A Quilt Sampler QAL. If this is your first time here, you can read more on this QAL by clicking here.
If you miss previous post you can always go back to all the post by clicking the button on my blog sidebar or below:

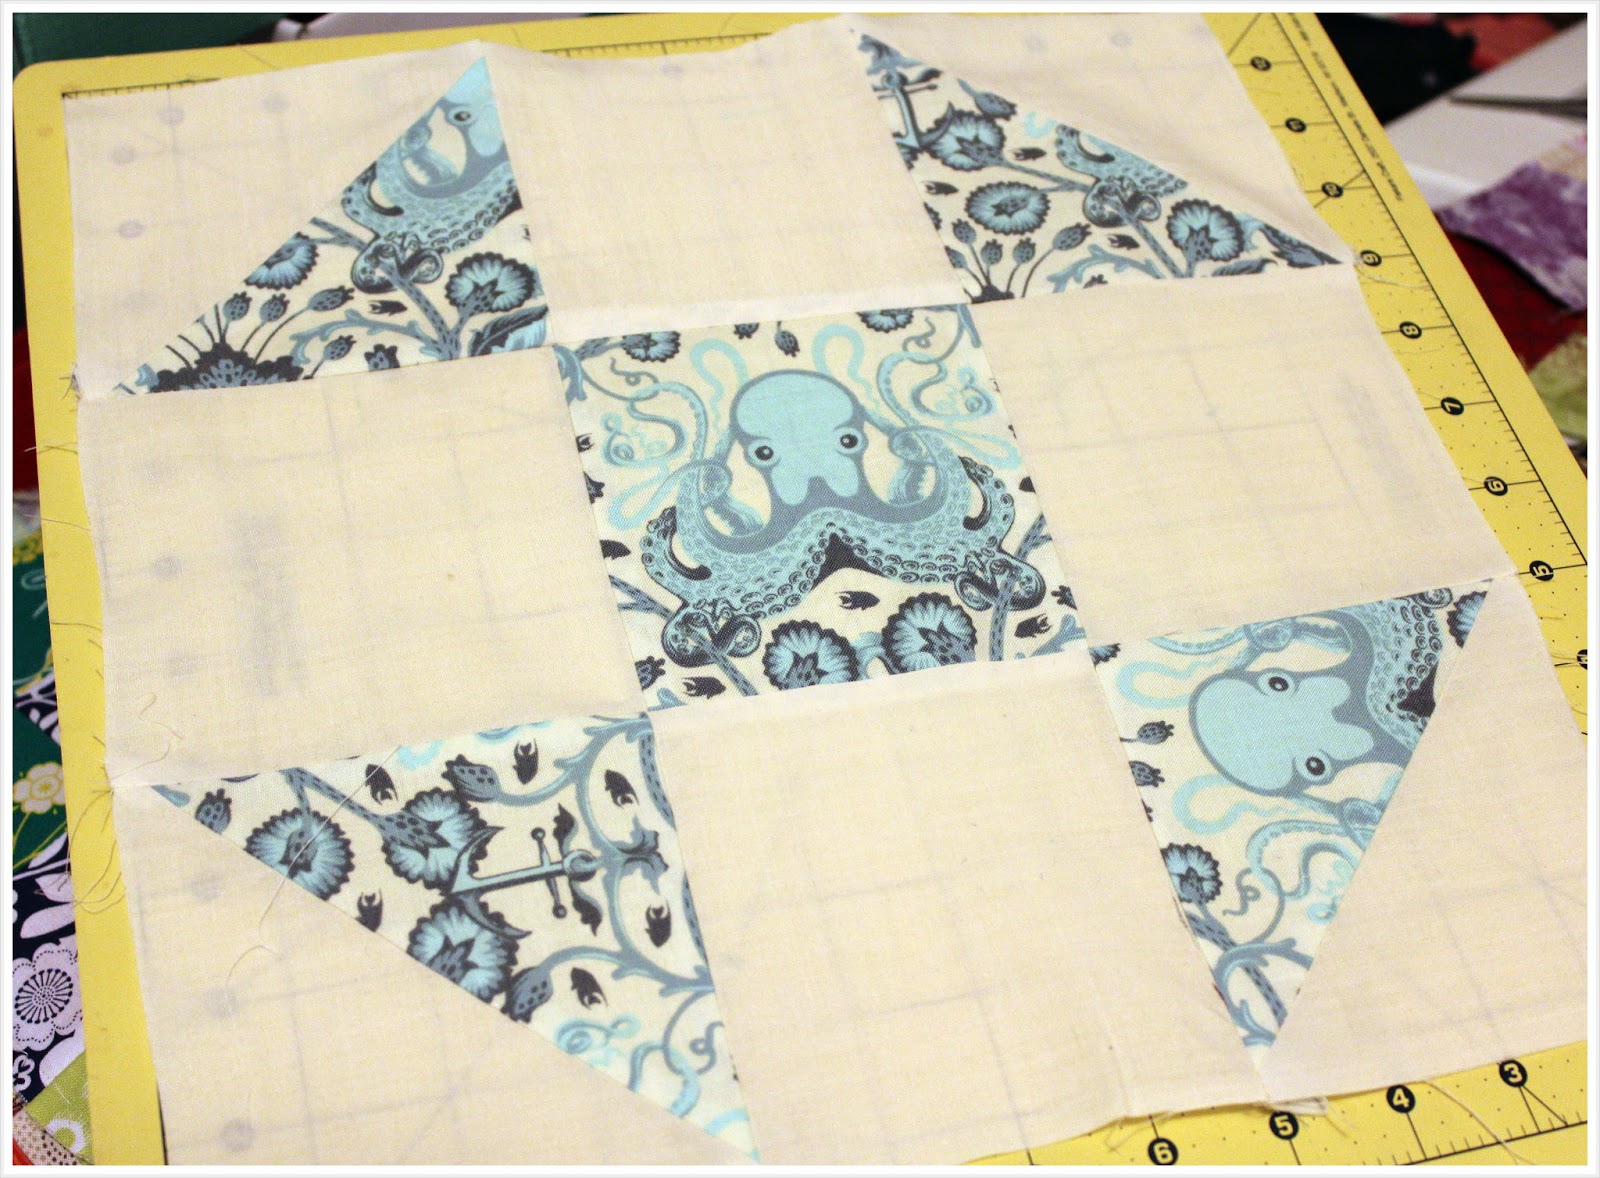
We are already on our fourth block with this QAL. The fourth block of this QAL is the leaf block.

It is a fairly simple nine patch having 4 pieces of half-square triangles , a block for the stem and others are just plain 4.5″ square pieces.
Here is how you should cut your fabrics.
From the solid, cut one 4 1/2″ square, two 2 7/8″ squares and two of 4 7/8″ squares
From the printed green fabric, cut four of 4 1/2″ squares and two of 4 7/8″ squares

Please note that I use 4 different type of green fabrics, you may stick to one or two. I just love the scrappy look.
For the stem block, take the 2 7/8″ solid piece and align it to one corner of one of the 4 1/2″ green square.
Sew along the diagonal. If you need to mark it first with a ruler and a pen, please be happy to do so.

Press seam and do the other corner.

As for the Half Square triangle pieces, take the solid piece and the green piece from the 4 7/8″ squares and piece them together by sewing two lines which are 1/4″ apart from the middle diagonal line. Again, if you need to mark the middle diagonal lines so that you can accurately sew the 1/4″ line on its side, please do so. Cut through this middle line and press the seam to one side or open.

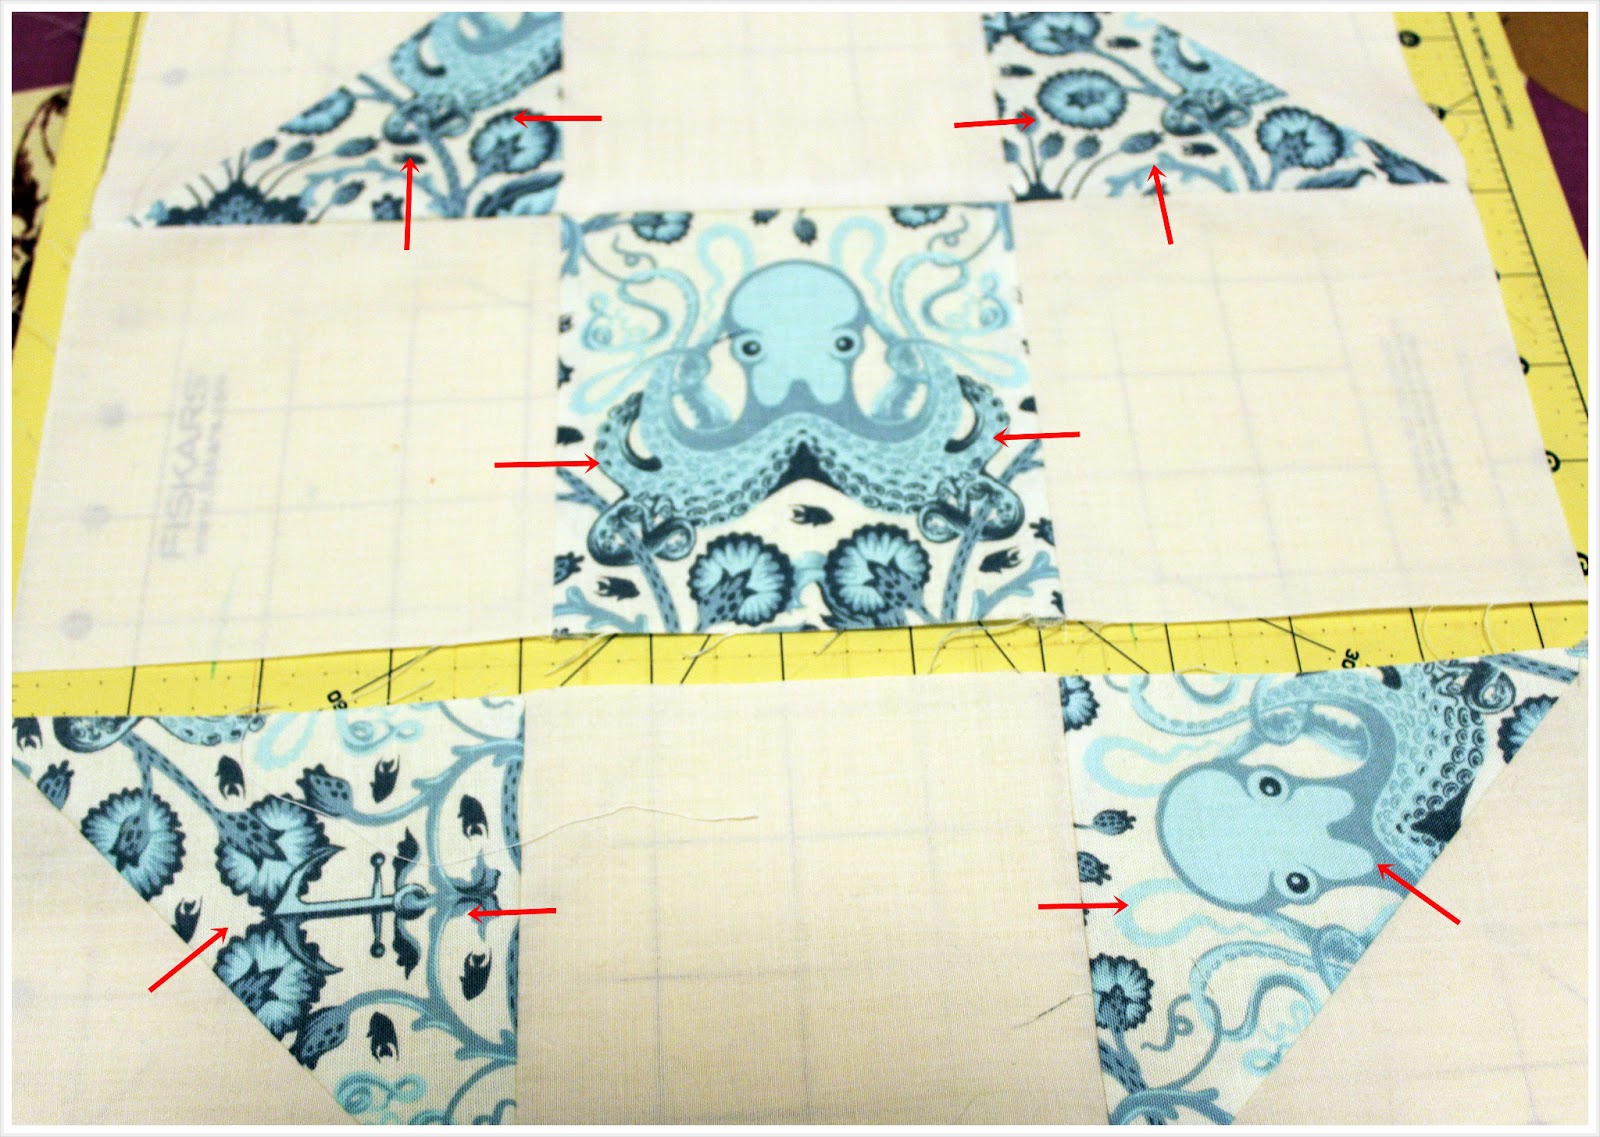
Arrange the patch as so that you will now can piece all of them together row by row into the leaf block

Trim your block to 12.5″ and sandwich it. Will be quilting it soon.
Have fun!
Till next time,
Regards
XOXO


 The informal QAL :
  Foundation Pieced Star Quilt @don’t Call Me Betsy
 Paper Piecing of sewing things by Kristy @ Quiet Play


 Something New Sampler
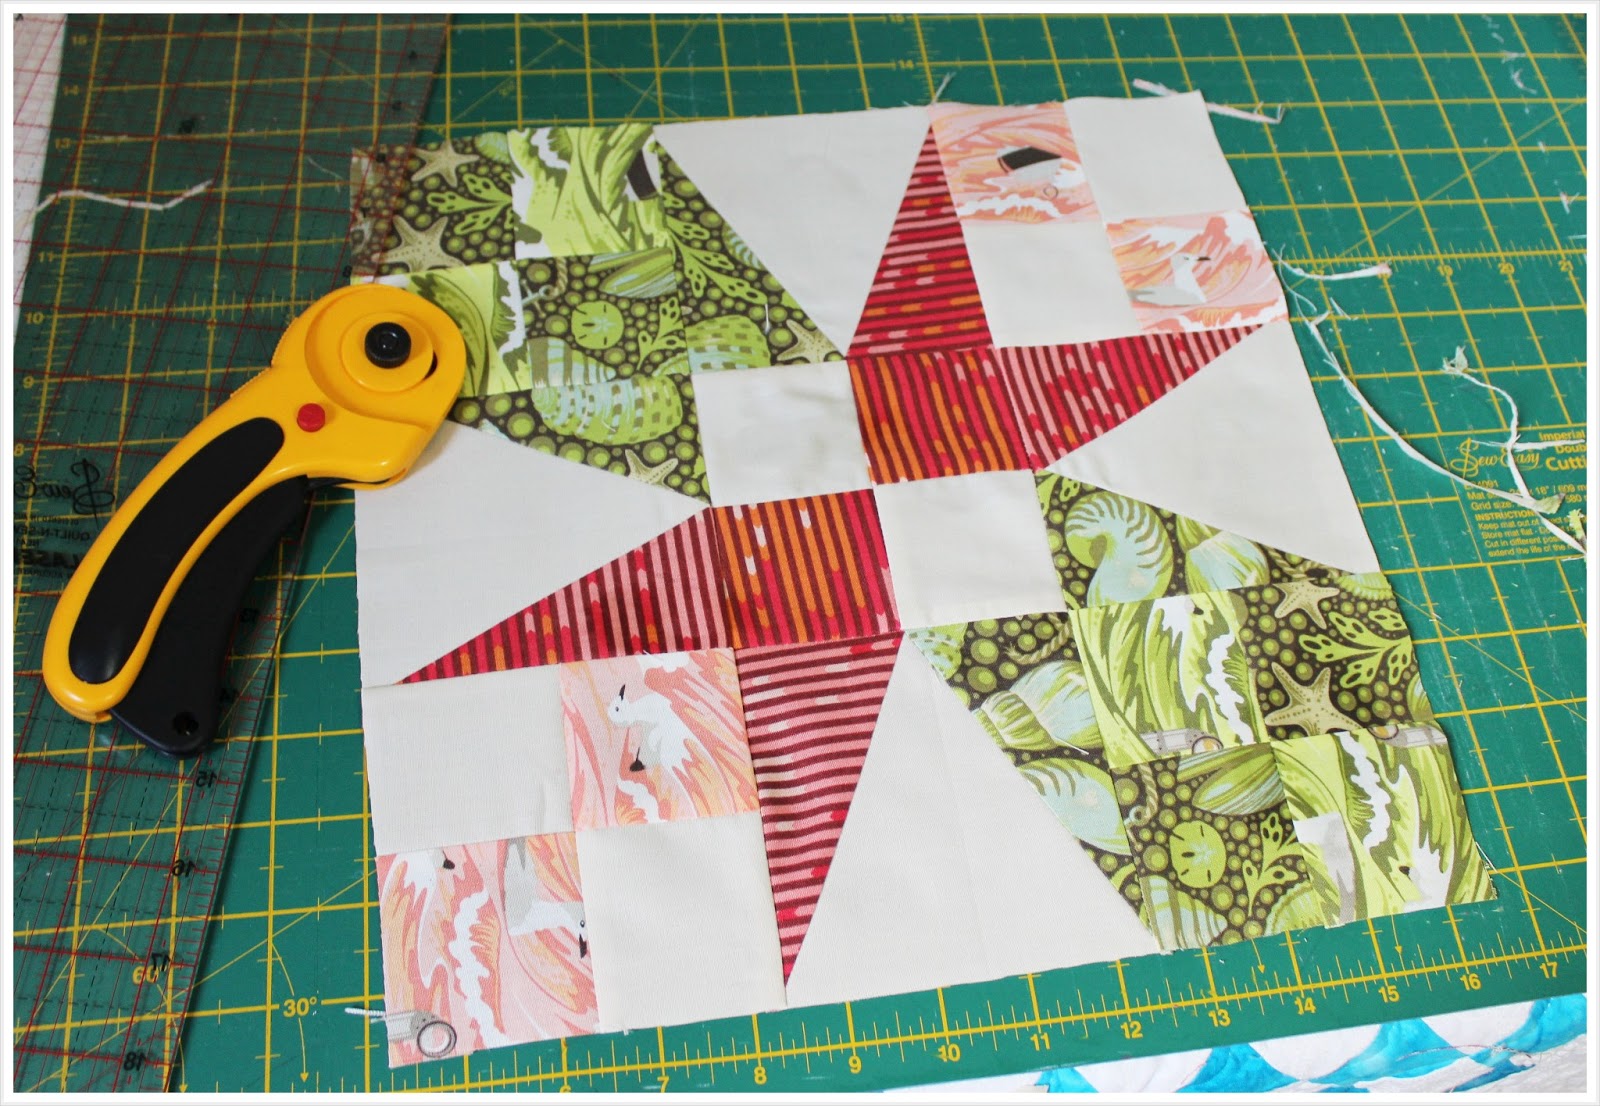